Once you or your Admins have created templates, using them is the fastest way to get your message out. Templates automatically populate your header, cover image, and body text, allowing you to focus on the specific details of your update rather than the layout. Whether you’re using a template you built yourself or an "Admin Pick" shared with the whole company, the process is quick and intuitive.
Prerequisites & Permissions
-
Access: Any user with content creation permissions can use templates.
-
Visibility: You can see and use any templates you have created (Private Templates) as well as any templates your workspace admins have designated as Admin Picks.
How to Apply a Template
The steps for applying a template vary slightly depending on whether you are creating a Post or a Page.
Applying a Template to a Post
-
Click the Create button in the top right and select Post.
-
Choose the group where your post will live.
-
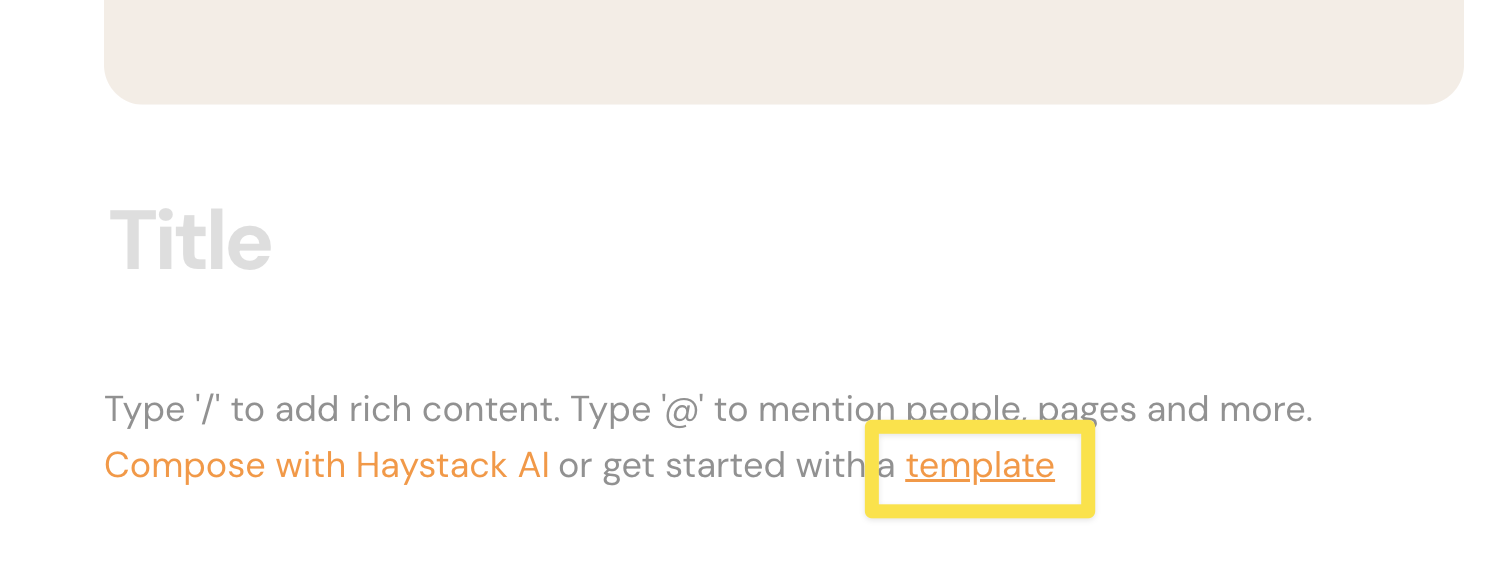
In the empty post editor, look for the gray filler text. Click the link that says "get started with a template".
-
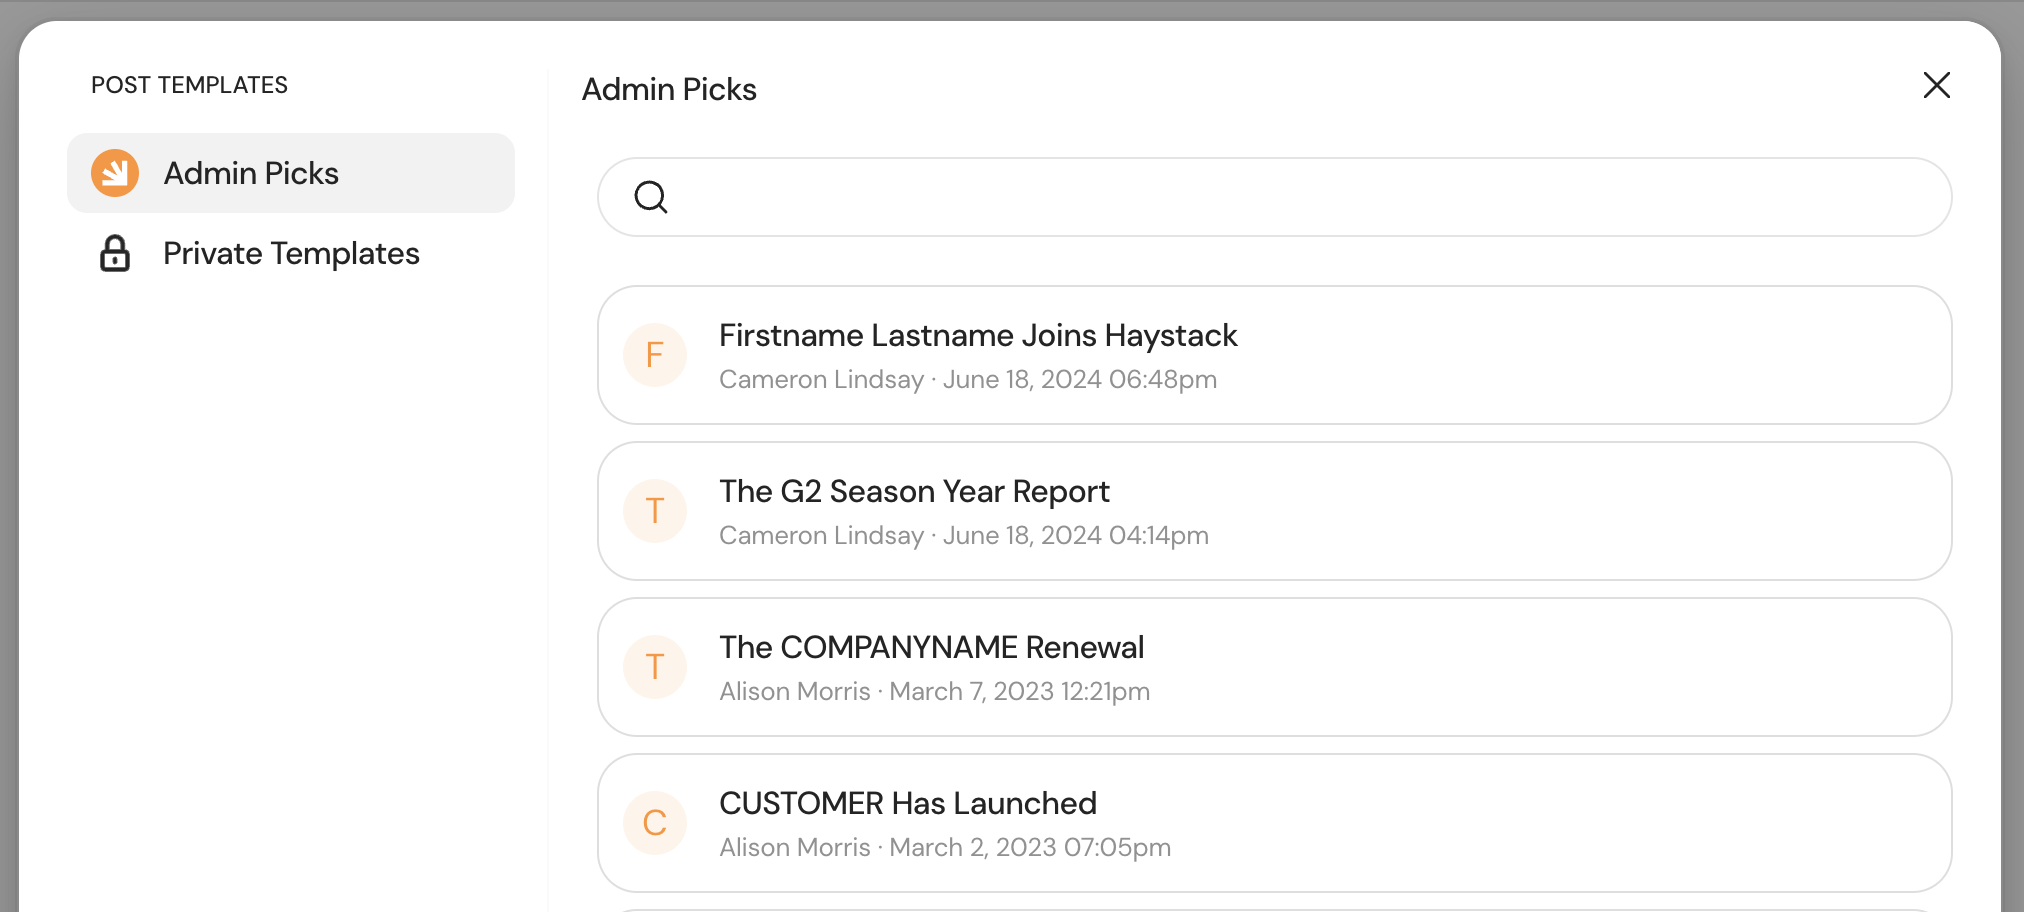
The template selector will open. Choose from Admin Picks or Private Templates.
-
Click your desired template. It will automatically fill in the title, cover image, and body content.
-
Customize your text, swap images if needed, add rich content, and click Continue to continue the publishing flow.
Applying a Template to a Page
⚠️ Important Note: Applying a template to a page after you have already started typing will overwrite your existing content. Always apply your template first before adding your custom updates!
-
Click the Create button and select Page, then choose the appropriate group.
-
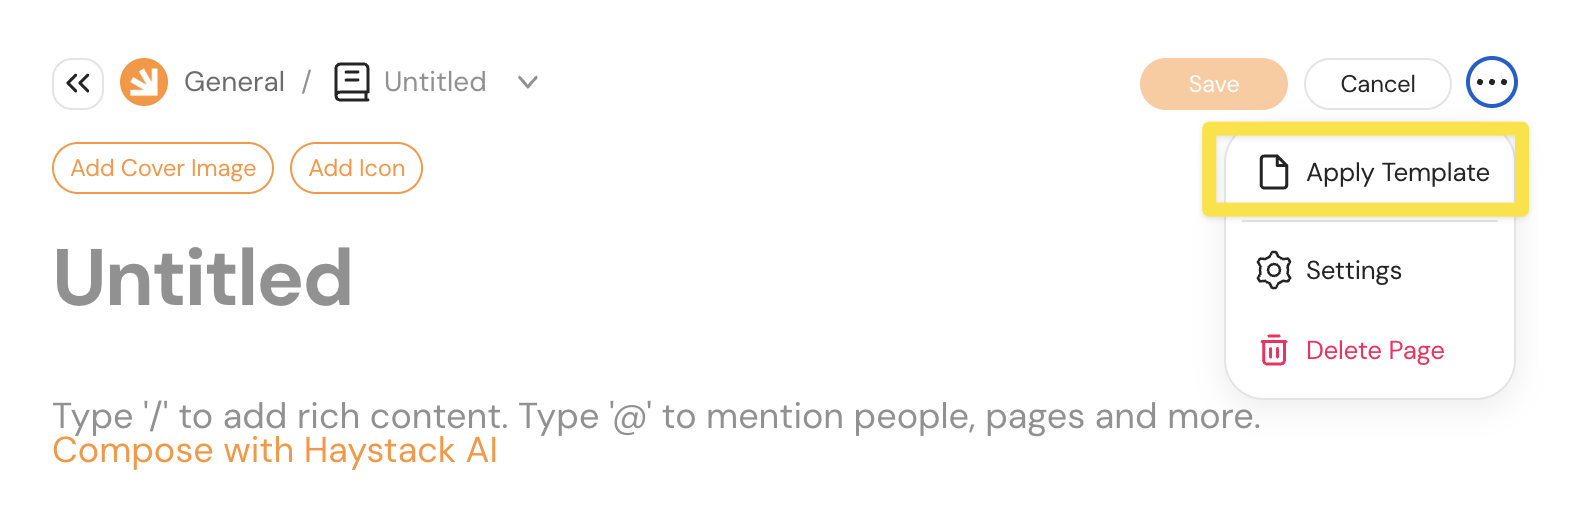
In the top right corner of the new page, click the three dots (...).
-
Select Apply Template from the dropdown menu.
-
Choose your template from the selection window. It will automatically fill in the title, cover image, and body content.
-
Customize your text, swap images if needed, add rich content, and click Save to publish your page.
Best Practices
-
Template First: As mentioned above, always select your template before you start writing to avoid losing any work.
-
Review Placeholders: Double-check that you’ve replaced all placeholder text (like [Insert Date Here]) before hitting publish.
-
Keep it Fresh: If you find yourself making the same manual changes to a template every time you use it, consider updating the original template to save even more time.
Need More Help?
Still have questions about using templates in your workspace? We’re happy to help!
-
Chat with us: Use the support chat available on-page for quick answers.
-
Email us: Send your questions to support@haystackteam.com.
Keywords: Using Templates, Post Templates, Page Templates, Admin Picks, Content Creation, Efficiency, Workspace Design, Internal Communications.